Publishing my 2014 post on DIY Watercolor Set from my other blog here since I figured many parents will also appreciate this!
A really easy and fun way do make your own watercolor set. And the best part is – everything is actually edible, so you know the exact ingredients of your child’s material.
Just a note: I know it says it lasts for a long time in the video I will share down below, but in my experience, it didn’t last as long as I originally thought. I really had fun making it, though. And though I did not yet have a child when I made this, my husband and I had fun using it as paint. An observation though: they will not come out as pigmented as regular watercolors, so don’t worry about putting too much color. Also, since it may not as long as you wish, you don’t have to fill the whole ice cube with the mix – just put half or less!
Anyway, enjoy!
CLICK THIS FOR THE VIDEO THAT INSPIRED ME FOR THIS DIY

DIY WATERCOLOR SET
INGREDIENTS:
1 cup baking soda
¾ cup vinegar
2 tablespoons corn syrup
1 cup corn starch
Food coloring
You’ll also be needing the ff:
Ice Cube Tray
Whisk and Serving Spoon (to mix)
several Popsicle Sticks/ Mixing Sticks (for mixing the colors and the mix in the cubes)
Small Teaspoon (you can use the ones from you measuring set)
Bowl (for mixing everything)
Paint Palette (or just anything that can be used to put the drops of food coloring)

THE METHOD:
1. Pour baking soda in your bowl and slowly pour the vinegar. Note: This mix will create bubbles and foam so pour the vinegar slowly and gently. Use a whisk to mix once the combination settles.
2. Once it’s thoroughly mixed, add corn starch and corn syrup. You may need to move to a spoon to mix everything because you will notice that the texture gets harder. Keep going.
3. Once thoroughly mixed again, start pouring it to the ice cube tray. Fill only about 3/4 per cube (or less) to avoid spilling. I used the small spoons from my measuring sets to pour the mix into the ice cube tray.

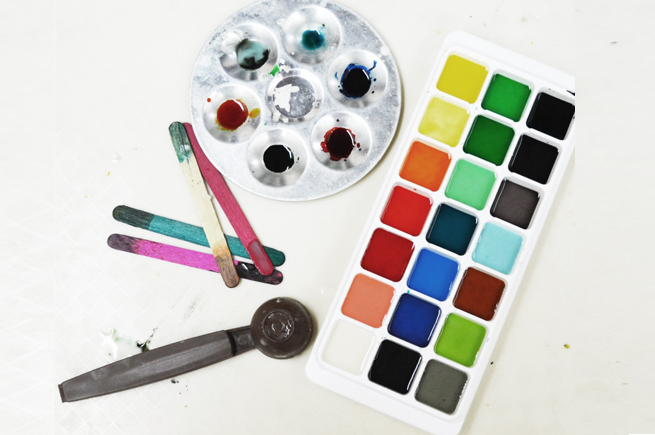
4. Pour a few drops of your food coloring to a palette. I only had 5 colors: orange, blue, green, red and one powdered olive green coloring (powder bought from wet market; liquid bought from grocery). They say the gel form is the best kind, but I haven’t seen them around so I stuck with powder and liquid.
5. Mix, Mix, Mix. Start by getting one drop of food coloring using a popsicle stick and putting it in one cube. Mix, Mix, Mix. Start with few drops because it’s easier to add more color than to reduce when you want a lighter tone. You can expect a soft and hard texture all in one cube, so mix thoroughly (and slowly – so it won’t spill to the next cube!)
6. Leave one cube untouched so you will always have white. It’s useful to have this so when you want to make a color lighter, all you have to do is get a few from the cube and drop it to the cube that needs to get lighter. And then of course, you have to make one cube black! I’ll leave the coloring up to you!
As my husband says, all you really need are the primary colors because you can turn them into so many other colors by mixing – but “pre-mixing” them for this project was also really fun!