
I’ve always wanted a lightbox table, but my husband hasn’t found time to make one.
In the meantime, I brought our container from IKEA (that I bought with this DIY lightbox in mind) and did an easy, quick DIY lightbox table that we could bring with us anywhere anytime.
MATERIALS NEEDED:
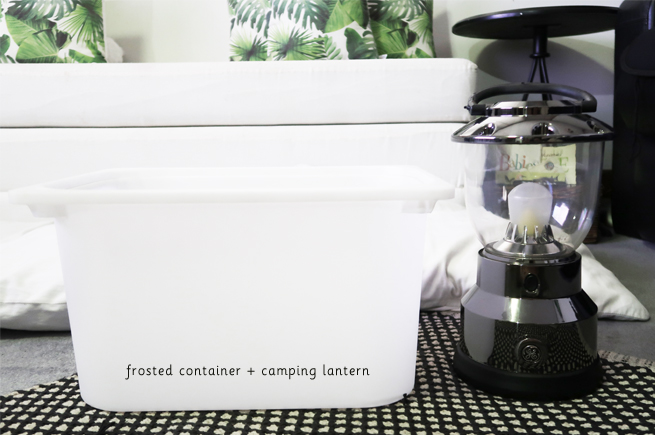
- Frosted Container/ Box (ours is from IKEA, you can check their containers for their Trofast/ Flisat line). You can also use glass if you’re comfortable with glass.
- A camping lantern. You can also use your cellphone (the light would be more equally divided), but it’s not as strong as a camping lantern, so if you have a camping lantern at home, try that one first.
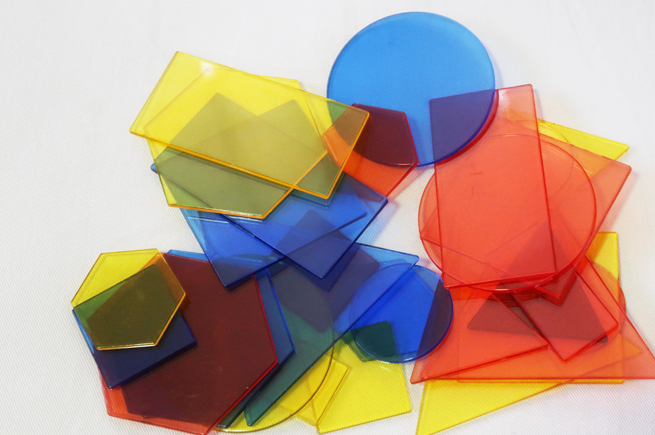
- Transparent materials. You can use blocks, paper, magnetic tiles – anything transparent/ translucent in different shapes and colors.
HOW TO MAKE IT:
1. Turn on the lantern. Lay it sideways if the top part cannot be removed or if it’s too tall for the container you have.
2. Turn the container upside down. Cover the light.
3. Place your transparent pieces on your “table”. These attribute or pattern blocks/ geometric solids are my choices: THIS, or THIS. For this table, you don’t need a lot of pieces, so no need to spend on those hundred++ pieces for this purpose.
4. Let your child do the rest of the work.
That’s it! What I love about this is that it’s so easy my toddler can assemble it himself. 🙂
NOTE: It’s best to play with this in a dark environment (might even be fun for camping!), but also good enough for just a slightly dark environment. Just make sure not to do it all night, because light can still have bad effects on our eyes! Have fun!


